





How to Hang a Standard Porch Swing
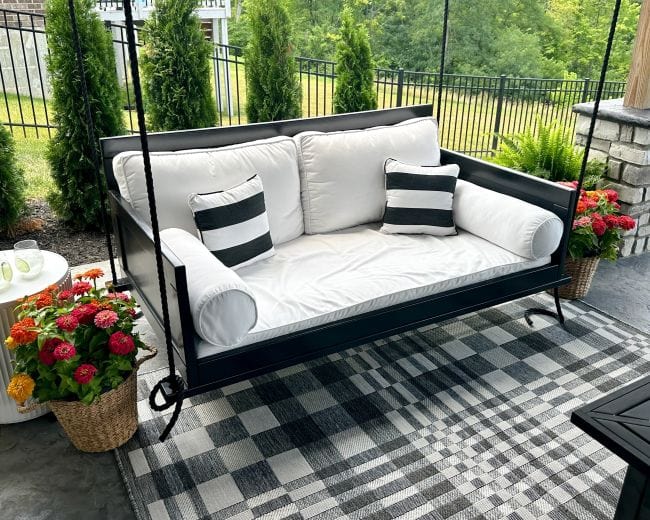
Note: This guide covers installation instructions for standard bench-style porch swings (typically supporting 400 to 700 lbs). If you are installing a heavy-duty swing bed, please visit our dedicated Porch Swing Bed Installation Guide.
There’s nothing quite like the simple joy of relaxing on a front porch swing. It’s a classic American tradition that turns any porch, deck, or garden into a welcoming spot to unwind and catch up with family and neighbors.
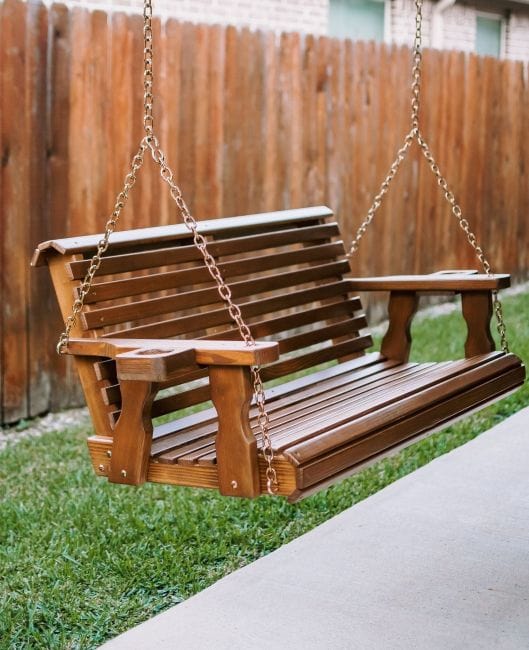
But first, you have to safely install your swing. Standard porch swings use a traditional two-point hanging setup, where two ceiling hooks connect to chains or ropes that branch into an inverted "V" at each armrest. Follow our guide below to measure, space, and secure your swing for generations of safe, peaceful swaying.
Your family’s safety is our highest priority. Because every home's overhead framing, joist age, and ceiling construction are unique, we strongly recommend having a licensed contractor, builder, or qualified carpenter inspect your intended mounting location prior to installation. A professional can verify that your ceiling joists are structurally sound and capable of safely supporting dynamic overhead weight.
Step 1: Choose Your Mounting Location
Before picking out your hardware, you’ll want to make sure your overhead support is sturdy enough to hold the combined weight of your swing and its occupants (we recommend planning for 400 to 700 lbs of dynamic weight).
- Porch Ceiling Joists: Locate solid wooden structural ceiling joists. While a solid 2x4 can support a lightweight swing, 2x4 ceiling spans can flex under dynamic swinging weight. For maximum stability and to prevent ceiling sag, we strongly recommend adding a 2x6 horizontal cross-brace (header) across two or more ceiling joists to distribute the load evenly. Always anchor your hardware directly into solid structural wood - never rely on drywall, beadboard, or decorative soffit panels alone.
- Tree Limbs: Choose a thick, healthy, structural hardwood branch at least 8 inches in diameter. Never screw eyebolts directly into a tree limb; instead, use protective limb-saver straps or padded chains wrapped around the branch to prevent bark abrasion and decay.
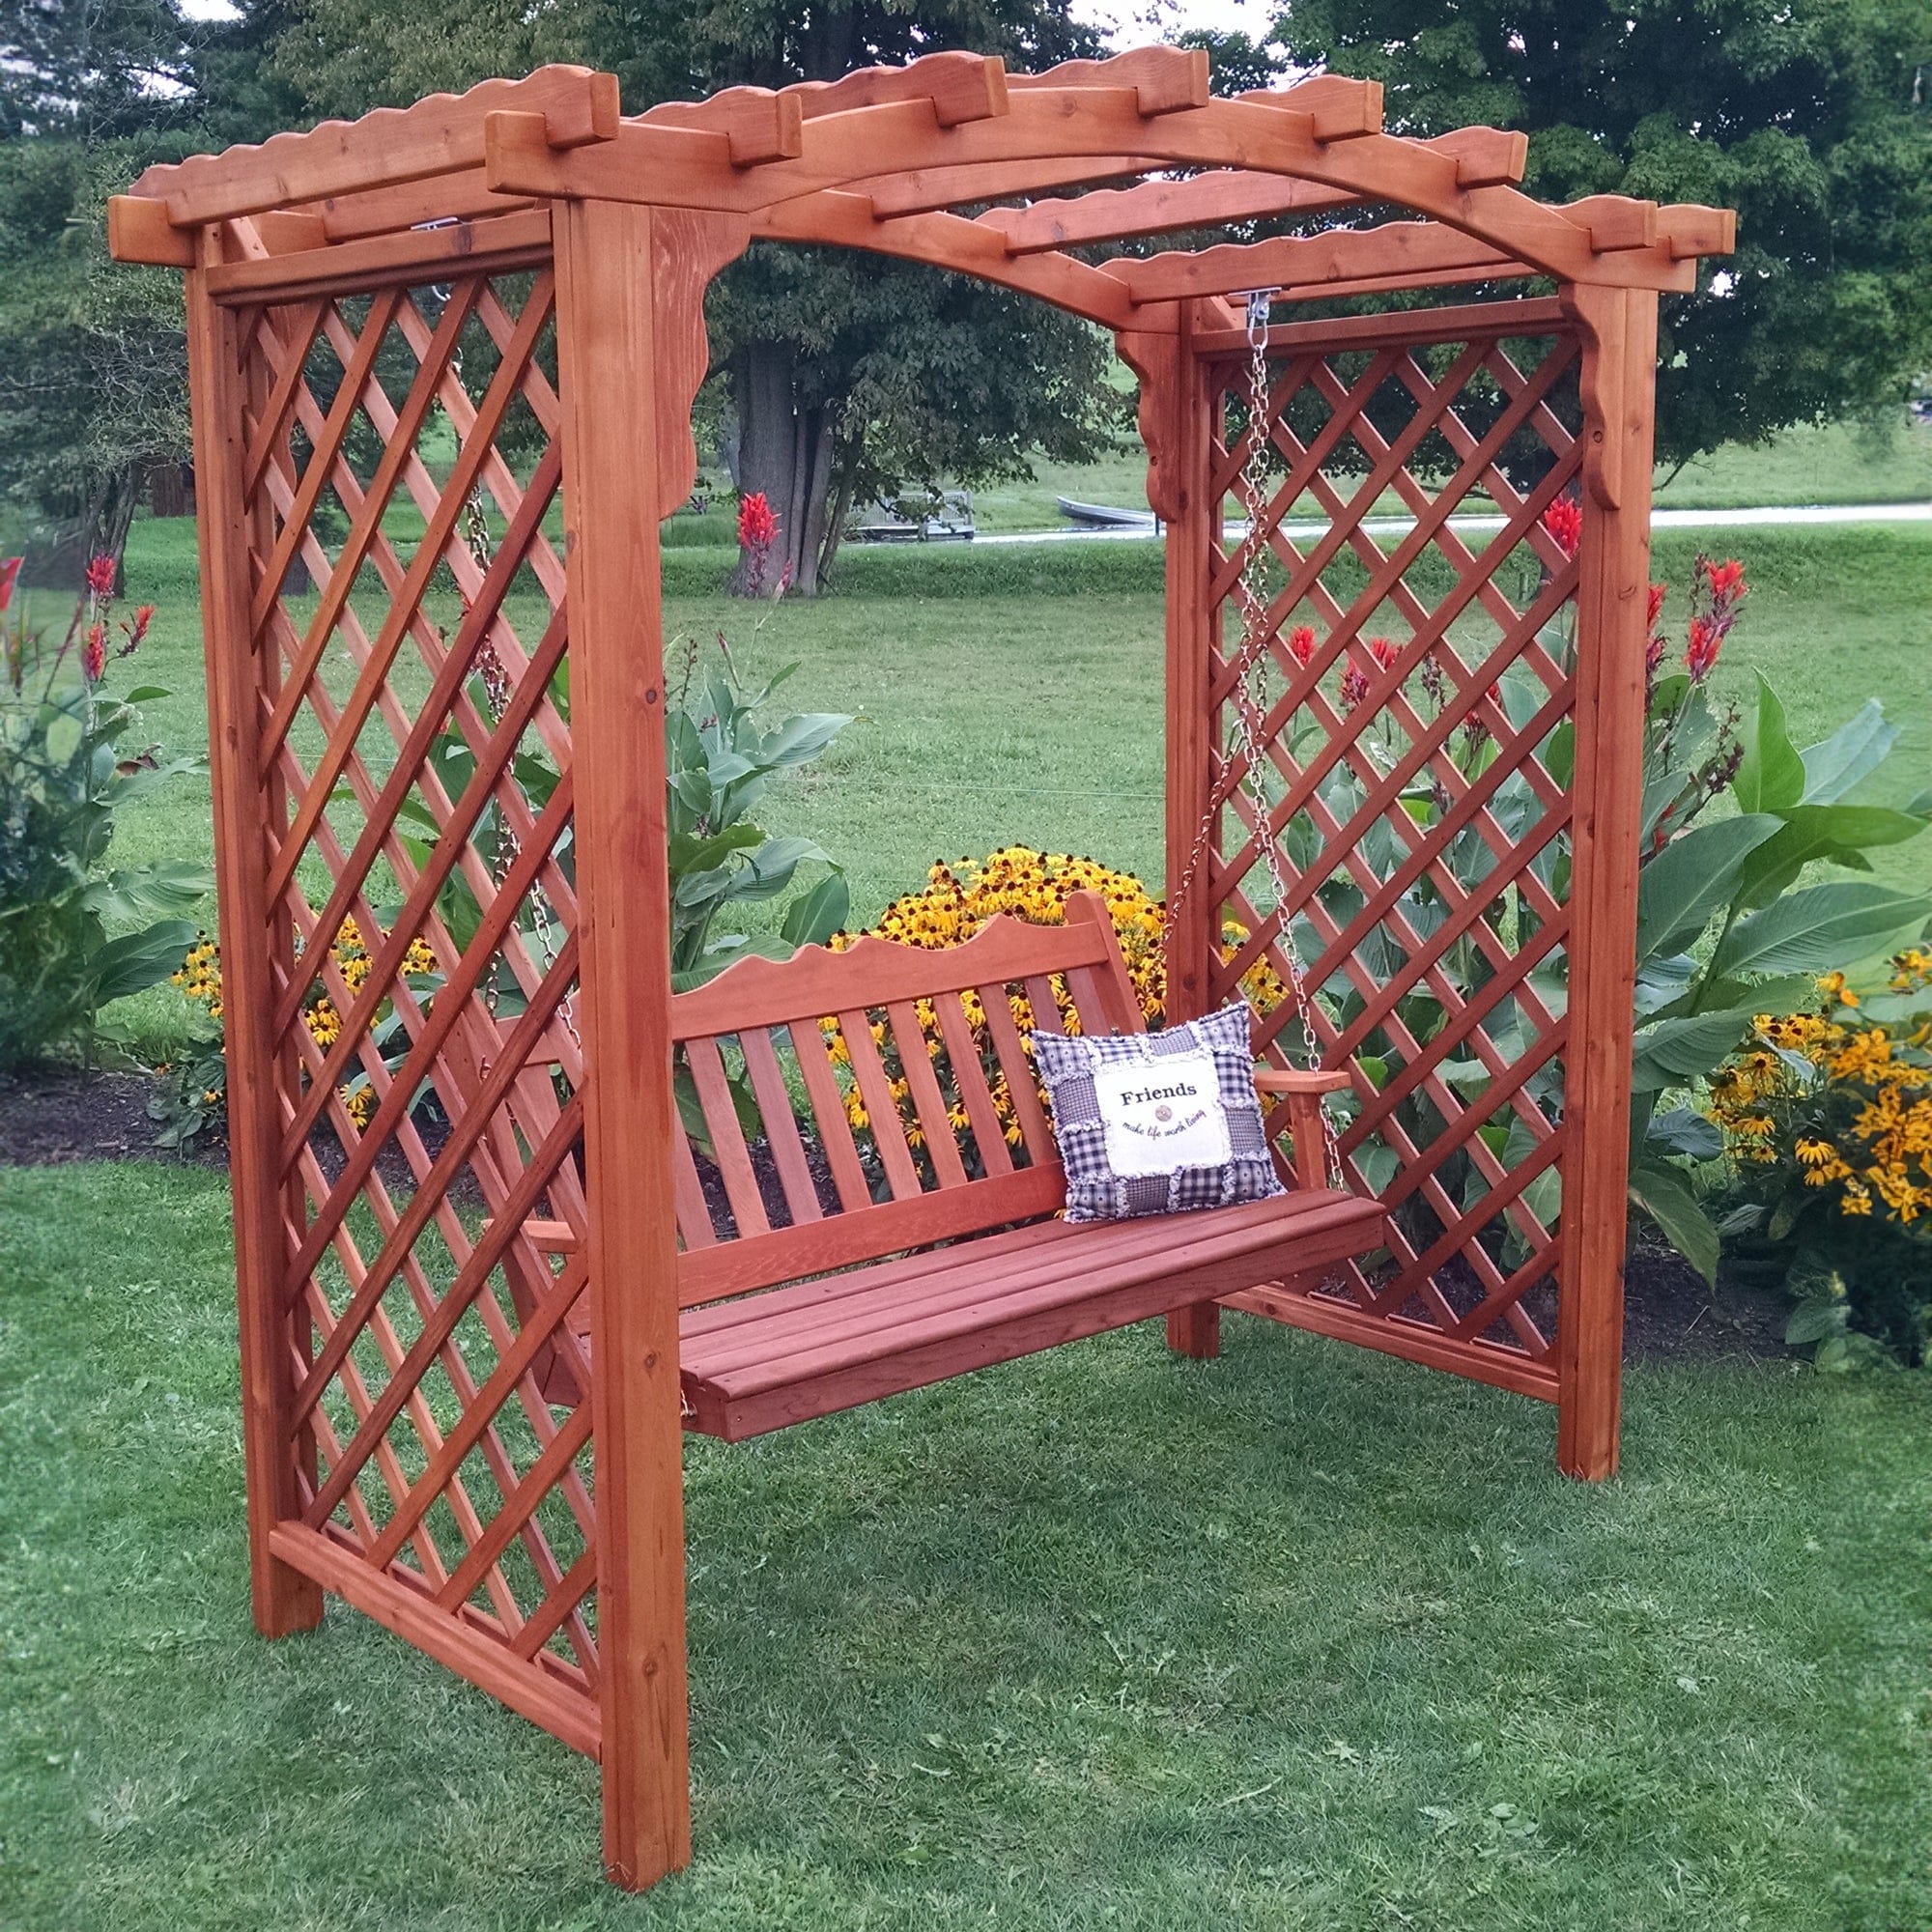
- Freestanding Swing Stands: If you lack ceiling joists or suitable tree limbs, an A-frame swing stand or pergola arbor allows you to place your swing anywhere - on a lawn, patio, or deck.
Step 2: Calculate Spacing & Clearances
Proper spacing ensures a smooth, uninterrupted swinging motion and prevents hardware from binding or rubbing against the swing's armrests.
- Front & Back Clearance: Leave a minimum of 24 inches of clear space both in front of and behind the swing to accommodate the full arc of the swinging motion without hitting railings, walls, or furniture.
- Side Clearances: Maintain at least 6 to 8 inches of space between the ends of the swing and adjacent walls or porch posts.
- Ceiling Hook Spacing: Position your ceiling hooks 2 to 4 inches wider than the overall length of the swing frame (e.g., for a 60-inch wide swing, space your ceiling hooks 62 to 64 inches apart). This outward angle distributes weight efficiently and keeps the chains from scraping against the wooden armrests.
Step 3: Install Heavy-Duty Mounting Hardware
When it comes to hardware, quality matters. Always use commercial-grade, weather-resistant hardware rated specifically for hanging porch furniture. We recommend the Barn Shed Play Porch Swing Hanging Kit.
- Drill Pilot Holes: Use a wood drill bit slightly smaller than your hardware threads to drill pilot holes straight into the dead center of the joist. This prevents the structural timber from splitting under load.
- Mount Ceiling Hooks: Screw heavy-duty 1/2-inch lag eye-bolts or professional-grade swivel porch swing hangers into the pilot holes until the threads are completely embedded into solid wood.
- Add Comfort Springs (Optional): Interlocking heavy-duty comfort springs between your ceiling hooks and top chain links acts as a shock absorber, softening the initial drop when sitting down and creating a smoother, gentler bounce.
Step 4: Hang and Adjust Seating Height
Finding the sweet spot for your seating height makes getting in and out effortless for everyone in the family.
- Target Seating Height: Adjust the top of the seat slats (or seat cushion) so it sits 18 to 24 inches off the porch floor. Taller users generally prefer 22 to 24 inches, while shorter users prefer 18 to 20 inches.
- Pro Leveling Trick: Place two identical dining chairs or 5-gallon buckets under your target hanging spot to support the swing frame at your desired height while you hook up the chains or adjust the rope lengths.
- Set Back Tilt: Most swings are meant to naturally hang with a gentle backward tilt. Your rope or chain kit should allow for this upon installation, but if needed you can adjust your swing chains or rope to change this recline to your preference.
- Final Safety Test: Tighten all quick-links or lock nuts securely. Have an adult test the weight slowly before full family use.