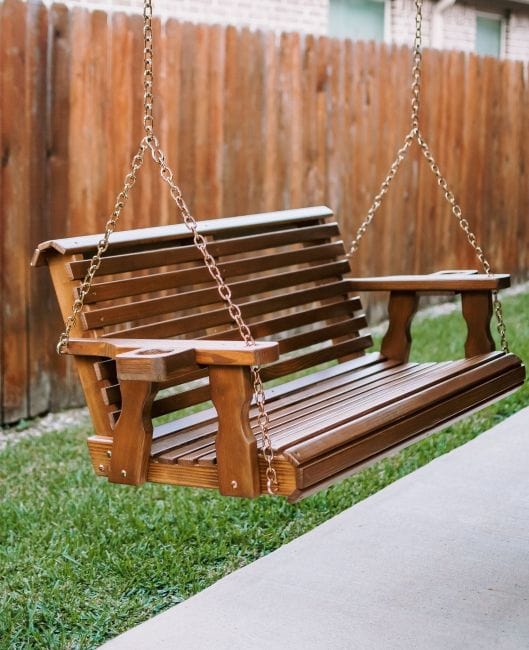
Nostalgic Porch Swings - 4 Pt. Hanging
Installation, Use and Care Instructions
Four-point attachment
IMPORTANT SAFETY INSTRUCTIONS
WARNNG
To reduce the risk of serious injury or death when using your porch swing, follow basic precautions, including the following:
1. Make sure that the support beams/joists in your ceiling will support the weight of this porch swing and its intended occupants. If you're unsure of your ceiling's strength, have an experienced contractor or engineer check it out.
2. Leave adequate space behind the porch swing that will allow for typical swinging motion without coming into contact the house, porch railing or other stationary object (Minimum of 16” Recommended).
3. Always install porch swing support hardware directly into solid wood framing.
4. Always install porch swing so that the intended user can comfortably reach a stable surface below.
5. Never allow more than three (3) adults on the porch swing at one time, weight limit of this product is 600 lbs.
6. Never allow anyone to stand on the porch swing under any circumstance.
7. Children should not be allowed to use the porch swing without adult supervision.
SAVE THESE INSTRUCTIONS FOR FUTURE REFERENCE
Installation
Tools required:
Step Ladder
Tape Measure
Pencil
Drill
5/16” drill bit
Large Screwdriver
Level
Plan the location:
Locate proper support beams/ joists in your porch ceiling.
Determine whether the desired location of the porch swing will be parallel to or perpendicular to the support beams/joists.
Make the marks:
- If the swing will be installed parallel to the support beams/joists:
Find two support beams/joists that are at least 21.5” apart that will allow adequate space behind the porch swing (16” minimum).
Mark the location on the support beam/joist for the two back eyehole lags 80” apart*.
Mark the location on the support beam/joist for the two front eyehole lags 80” apart*.
*80” for 77” swing, 75” for 72” swing, 70” for 67” swing,
65” for 62” swing, 60” for 57” swing, 55” for 52” swing.
Installation-cont.
- If the swing will be installed perpendicular to the support beams/joists:
Find two support beams/joists that are at least 78.5” apart** that will allow adequate space behind the porch swing (16” minimum).
Mark the location on the support beam/joist for the two side eyehole lags 23” apart.
Mark the location on the support beam/joist for the opposite side eyehole lags 23” apart.
**78.5” for 77” swing, 73.5” for 72” swing, 68.5” for 67” swing,
63.5” for 62” swing, 58.5” for 57” swing, 53.5” for 52” swing.
Install the eyehole lags:
Drill a 5/16” pilot hole at least 4” deep at each pencil mark being sure to be in the center of the support beam/joist.
Coat threads on eyehole lags with paraffin or bar soap.
Start the eyehole lags into the holes by hand and when they become tight, use shank of large screwdriver to tighten them all the way.
Level porch swing:
Temporarily support porch swing at desired height (17”-22” recommended) directly under eyehole lags and attached ropes.
Check for level side-to-side.
Check for level front-to-back, if desired front of porch swing can be up 1” higher than back of porch swing.
Thread each rope down through eyebolts in porch swing.
Tie off ropes:
Securely tie end of each rope around eyebolt on porch swing using “Figure 8 Knot”.
Cut additional slack off end of each rope leaving at least a 4” loose end.
Check Installation:
Remove temporary support from under porch swing and allow to hang freely.
Re-check for level and adjust as needed.
Test with medium weight and then gradually increase up to a maximum of 3 adults.
Use
Inspecting:
Periodically check condition of ropes, fasteners and porch structure, replace if necessary.
Immediately stop using porch swing if it at any time appears unstable.
Swinging:
While in a seated position with feet in contact with the surface below, gently move swing in front-to-back direction.
Care
Cleaning:
Clean wood and fabric surfaces as needed with soap and water, allow to air dry.
Protecting:
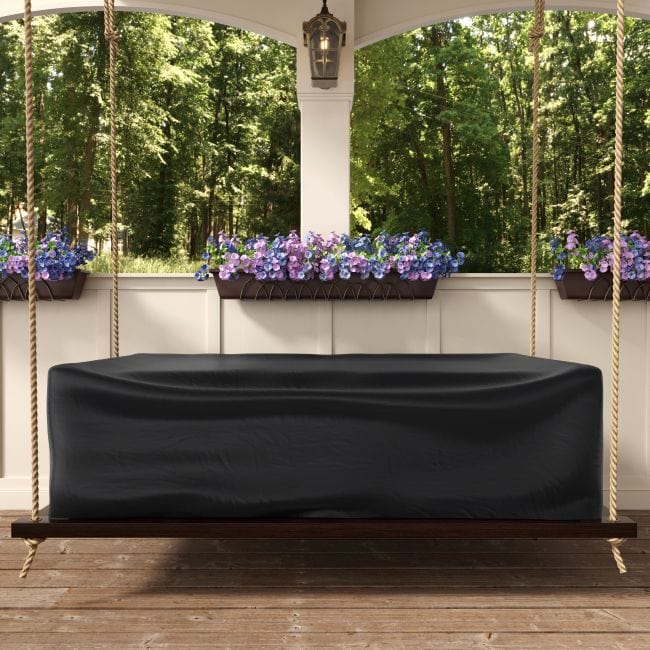
Cover porch swing with a breathable outdoor furniture cover when not in use to protect from elements and extend the life of the finish.
Refinishing:
Porch swing with a Stained finish – Recoat using Penofin brand Verde penetrating oil finish following manufacturer’s instructions.
Porch swing with a Painted finish – Repaint using a high quality Satin Exterior Acrylic Latex Paint following manufacturer’s instructions.
Five Year Limited Warranty
Nostalgic Porch Swing Co LLC, will guarantee all products against both material and manufacturing faults and defects for a period of five (5) years from date of purchase. In each case a photo will be required to qualify a warranty decision. A free repair or replacement of any defective part covered by this warranty will be made available during this period. The manufacturer accepts no responsibility, in any way, for damage caused by misuse, negligence, alteration, abuse or accident. Neither shall the manufacturer be liable for damage due to acts of nature, fading, natural aging of the timber, greying, or non-structural, natural occurring timber features and surface checking. From exposure to the elements, especially in very dry climates, end grain checking may occur in wood. This in no way affects the stability of the furniture, is natural, and therefore is not covered under warranty. In the event the furniture is used in a commercial setting, the guarantee as referred to above, shall apply for a period of three years from date of purchase only.


